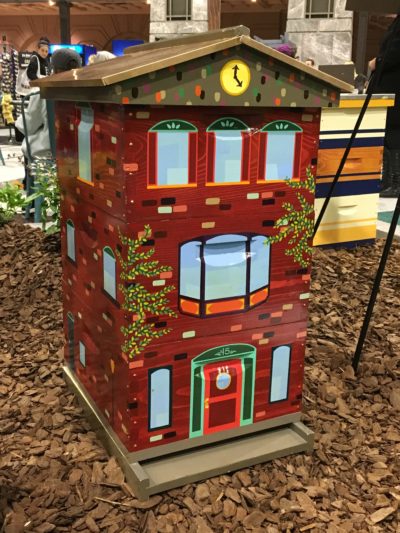
Painted hive
In the winter months, just thinking of my beehives bursting with loads of bees and honey puts me in the mood to go through and inspect all my honeybee equipment and replace and renovate. I want to have all my equipment ready to go at a moment’s notice when the spring rush happens. All of my honeybee boxes, supers and deeps, bases, slotted racks, inner and outer covers, excluders, and frames are looked over carefully. I don’t hesitate to throw something away that has served its time. But the rest, I renovate to last another couple of seasons.
Step 1: Inspect and Freeze
Start by covering your entire work area with brown paper or a plastic tarp for easy cleanup.
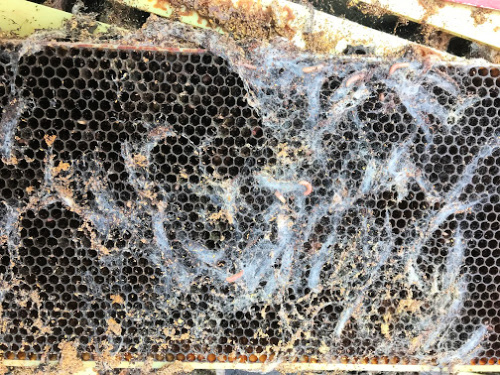
Dismantle your hives, placing all the old drawn frames into a large freezer for at least 24 hours before cleaning. This kills insect pests, such as the wax moth in all stages.
Step 2: Wood Hardener or Throw Away
Paint wood hardener on any soft spots to preserve and protect the wood from rotting further. If the spot is too rotten and leaving holes in your hives, throw them away! Holes lead to new entrances which encourage robbing.
Step 3: Scrape
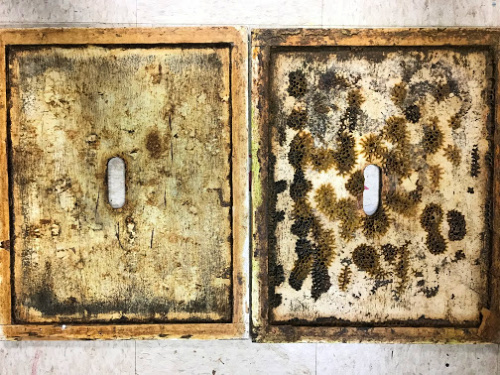
Yes, the bees will put wax and propolis on everything and you need to scrape this off with your hive tool so that your boxes fit together tightly. I scrape all excess wax into a pile and clean and melt it down in my crockpot for later use. See my post on cleaning wax at Beeswax-Honeybee Gift.
Be especially careful when cleaning the internal corners of the boxes and the frame
runners, as these provide ideal nooks and crannies that may harbor pests and pathogens. It is a good idea to remove old frame runners and replace with new ones. To clean your boxes, you can even take a propane torch and run it around the inside of the hive body, which will turn it a rich brown. But be careful that you don’t set your hives on fire!

Inner cover before and after scraping
Step 4: Paint
Paint the exterior, leaving the interior unpainted,with a primer and one or two coats of paint. If already painted, give the boxes an extra coat. Paint definitely will add years of life to your equipment. See my post on Beehive Art.
Step 5: Store
Any frames that have honey on them, known as wet frames, I store in the freezer so that they are ready to pull out when I need to feed my bees in the spring. If I have drawn comb, or dry frames, I store them in my potting shed and stack the boxes at a 90 degree angle to allow light in as wax moths don’t like the light. I also put mouse traps around any wax drawn combs, as mice will create nests and general havoc in the frames. I check my frames stored frequently to ensure the wax moths haven’t started to make inroads.

Wax Moth Damage


